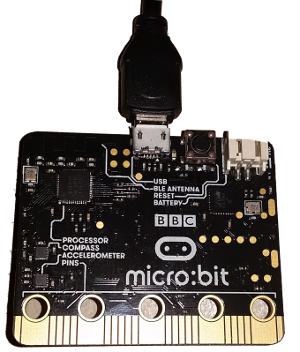
Communicating between Raspberry Pi and Micro:Bit using pyserial
One of the things I’ve been doing with the micro:bit is to have it relay messages to a connected host computer.
This is fairly easy within python on a Linux computer (such as the Raspberry Pi) thanks to the pyserial module which supports sending and receiving serial communication over a serial USB device. It’s even easier on the micro:bit where the USB port is used for the console allowing it to be accessed through stdin and stdout.
First let’s see how to get talking between a computer and the micro:bit.
Open up a terminal and run
dmesg
This shows the kernel ring buffer (any messages logged by the kernel – which is the core of the operating system).
Look for an entry with tty, which assuming you have just plugged in your micro:bit should be near the bottom. With the micro:bit as as the only connected serial device then it’s likely to be ttyACM0 eg.
[171769.685287] cdc_acm 1-1.2:1.1: ttyACM0: USB ACM device
this says that it’s connected as a serial device on port ‘/dev/ttyACM0’. If there is already a serial device connected then it will be ttyACM1 etc.
One of the easiest ways of testing this is to use the screen utility to connect to the serial port. It’s not installed by default on many systems so first install using:
sudo apt-get install screen
You can run the screen utility by following it with a port to connect to (ie. the tty ACM device) and the baud (communication speed).
The default speed (baud rate) for the micro:bit is 115200 bits/sec so connect using:
sudo screen /dev/ttyACM0 115200
Note you may not need sudo if you are in the dialout group, but sudo should work regardless.
Now any messages the the micro:bit sends to stdout (standard output) eg. by using a print statement will be shown. This is particularly useful if you have a bug in your code as it will then MicroPython will output the error message to the console (which gives more information than the scrolling message on the front of the micro:bit).
Also anything you type in at the keyboard will be sent to stdin (standard input) which can be read from within your program using readline().
On the Raspberry Pi or Linux computer then the pyserial package needs to be installed. On the Raspberry Pi the pyserial package is already installed, but on other Linux distributions it may be necessary to install pyserial. On Ubuntu that can be achieved using
sudo apt-get install python-pyserial
or
sudo apt-get install python3-pyserial
as appropriate.

The code to communicate via serial interface is:
import serial

ser = serial.Serial('/dev/ttyACM0', 115200, timeout=1)

while True:
    rcv = ser.readline()
    cmd = rcv.decode('utf-8').rstrip()
ser.write() is used to send data to the micro:bit.
Note that this code does not include any error checking. Although most messages were received OK I did find occasionally that a line would terminate prematurely, so it would be a good idea to check that the entire message is received.

